

Decades back, GUI was a distant dream for almost every computing device out there. Users had to take some commands by heart when it came to using a PC or Macintosh device. The case was same when you wanted to do a simple calculation or when it came to moving a file from one folder to another. Then came Apple Lisa that brought intuitive windows and cursor system into computers.
Since then, everything has been so easy, but for some reason, almost every OS still keeps space for Command Prompts and Terminals. If you are using Windows, you will be familiar with the Command Prompt, which is used for performing certain tasks. As we come to macOS, however, its counterpart is named the Terminal. It is not mandatory that you should know how to use macOS terminal.
Nevertheless, there are a few instances when Mac terminal is quite useful. Obviously, you can find some of terminal tricks and tips too. In this article, we have created a list of the best terminal tricks and commands to know. Personally speaking, I find these commands useful once in a while; we hope they help you too.
Accessing Terminal in Mac
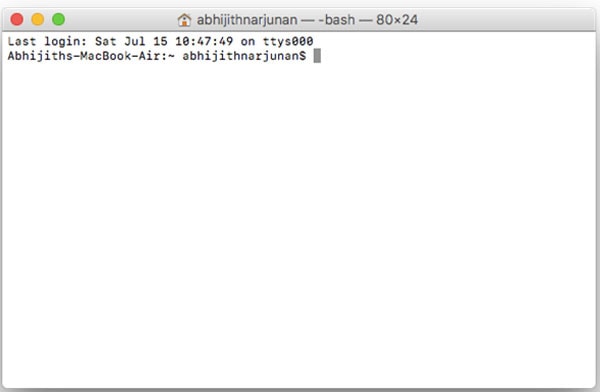
The easiest way to access terminal in Mac is by using the Spotlight Search. Just press Cmd+Space and enter the term, ‘Terminal’ in the search bar. In a second, you can see the terminal interface that resembles photo that we’ve given below.
Now that you have opened and seen the terminal, we’ll move onto the tips and tricks, right?
#1 Stop your Mac from Automated Sleep – Keep it Awake
If you are someone who runs some applications all the time, you wouldn’t want the Mac to go to sleep. My idea was to go to Energy Saver Preferences and turn the Sleep feature off. However, using a terminal, it’s just a command away. You can use the following Mac terminal command to make sure that your Mac never goes to sleep again.
caffeinate
Just type the command in terminal and hit the Enter button. Instantly, your Mac becomes sleepless. It’s an awesome feature if you want to keep your Mac running almost every time. This is a useful command if you like to leave your Mac with some serious background tasks.
#2 Know the Uptime of your Mac
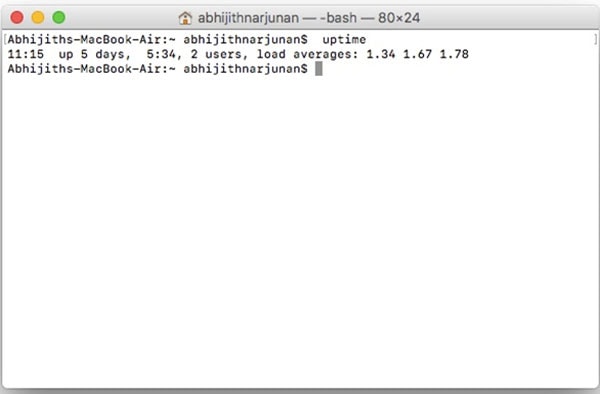
In most days, I don’t really shut down my Mac device. In fact, I don’t even remember when I shut down the Mac for the last time. That having said, it’s necessary that you should shut down and restart your Mac once in a while. To know how long your Mac has been running without being turned off, you can use the following terminal command.
uptime
Just press Enter and you can see the total uptime of your Mac so far. It needs to be noted that the time won’t be affected by charging cycles or anything. In my case, it’s been several days, as you can see.
#3 Manage Your Screenshots
Do you know that Mac comes with an inbuilt utility for capturing screenshots? It lets you capture shots from full screen, a specific area or a specific window. Due to the default settings, however, the screenshots will be saved in .PNG format, and in the Desktop folder. Chances are, you may want to customize it in the long run.
To change the format of the saved screenshot, you can use the following command.
defaults write com.apple.screencapture type jpg
Depending on the requirement, you can replace jpg with other formats too. It’s a useful feature if you want to get less space-consuming screenshots from your Mac.
To change the location where screenshots are automatically saved, there’s another command. You can paste your desired location in the respective place.
defaults write com.apple.screencapture location ~/Users/abhijithnarjunan/Desktop/Screenshots
After you enter the above mentioned command, paste the following one. It will refresh the System UI Server and save the
killall SystemUIServer
In the very next second, the setting will be changed. From now on, the captured screenshots will be saved in the provided location, in .JPG format.
#4 Hide Files and Folders from Desktop
Sometimes, your macOS Desktop can become so cluttered that you can’t even navigate. Suppose you want to manage a few windows without being distracted by those icons. Here is a simple Terminal command that can help you do that.
To hide the contents of your desktop, enter the following command.
defaults write com.apple.finder CreateDesktop false
killall Finder
In a second, all the icons and folders from desktop would disappear. You can keep working on the windows without being distracted. And, once you are done, and want to bring the desktop contents back, enter the following command.
defaults write com.apple.finder CreateDesktop true
killall Finder
In a second, the Desktop would be exactly like what it was when you did the first command. Make sure you don’t forget these commands since they are required for performing the re-appearing action.
#5 Make Your Mac Read for You
Do you want your Mac to read out something for you? We are not talking about dictation or Siri. Just consider that you have a piece of text before you. Would not that be great if you can paste the text somewhere and Mac reads it for you? Well, you can use the following command.
say [content]
To put it simply, you have to add the command ‘say’ in front of anything that you need read out. In the above case, your Mac will speak out the word ‘content’. We hope that’s clear. The next time you have some text you have to write it down, make your Mac dictate it for you ;)
#6 Download Files from the Internet
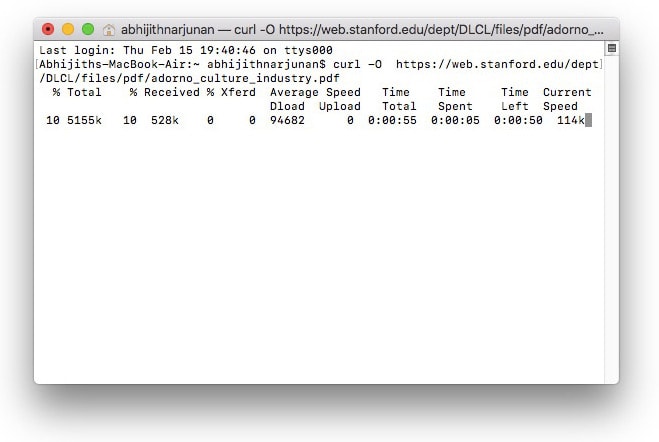
If you don’t want to use your browser or third-party download managers to get files from the Internet, this Terminal command will help you. It’s a simple command that will not only download files instantly but also show the progress. To use this command, enter the following.
curl –O https://web.stanford.edu/dept/DLCL/files/pdf/adorno_culture_industry.pdf
In this case, your Mac will download the abovementioned file for you. It needs to be noted that it’s a capital O and not a zero. If you forget to put the –O, you will get a bunch of characters instead of the file. However, if you did that right, you can see a window as shown in the video or below.
#7 Hiding a File/Folder from Finder
In Mac, you don’t need a third-party app for making a folder hidden. Goes without saying, it’s a cool feature if you have something confidential and don’t want others to see it. There are a couple of terminal commands to hide and unhide certain files and folder.
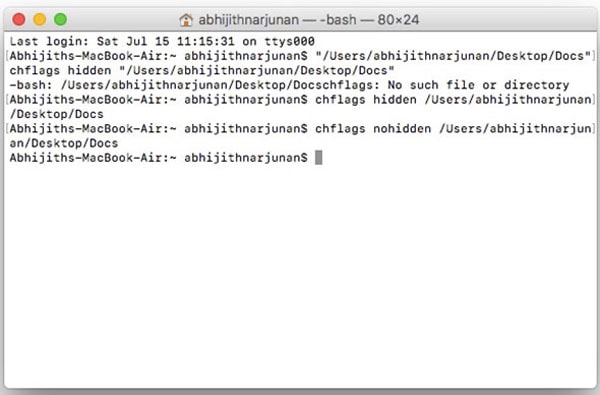
To hide a particular folder from your Finder interface, use the following command. Of course, you will have to replace the directory name with that of the folder you need to hide.
Chflags hidden /Users/abhijithnarjunan/Desktop/Docs
Hit the Return button and the folder would disappear from the Finder window or Desktop. Make sure that you can recall the directory name. if you can’t keep it somewhere safe.
To bring the folder back into Finder, there’s another command to be used. Just paste the following one.
Chflags nohidden /Users/abhijithnarjunan/Desktop/Docs
Instantly, you can see the folder appearing back.
#8 Customizing your Dock
Did you know that you can customize the design of your Mac dock using Terminal? In fact, you can, and all it requires is a bunch of commands. We will some of them here.
Suppose you have a wide variety of app icons on the dock. You may want to rearrange the dock with respect to the category of apps. You can insert a space into the dock that will help you in the classification process. To do that, you can paste the following command into the Terminal window.
defaults write com.apple.dock persistent-apps -array-add '{"tile-type"="spacer-tile";}'
killall Dock
It’s a command for inserting a single space. You can repeat this command as many times as you like and get as many spaces on the dock. These spaces can be dragged and managed with ease.
#9 Add A Message to the Mac Log-In Screen
Do you want to add a personal touch to the log-in screen of your Mac? A simple Terminal command can help you do that with ease. You just have to paste the following command in the Terminal, replacing the random text with what you want on the screen.
sudo defaults write /Library/Preferences/com.apple.loginwindow LoginwindowText "yourtext"
Here, make sure that you replace the text with what you want to appear on screen. It can be your name, a quote or something even more interesting.
#10 Stream Star Wars Episode IV
Here’s something funny to end this article with. Have you ever thought of watching the full stream of Star Wars Episode IV in ASCII? You can do that from Terminal as well. All you have to do is to paste the following command in the terminal window and wait for a second.
telnet towel.blinkenlights.nl
Just wait for a second when your Mac starts streaming that wonderful episode — all in ASCII, though. It has to be noted, however, that this feature doesn’t work on devices running OS X 10.3 or later. It’s because Apple has disabled telnet. That having said, you can always use some other services to install telnet and get things streaming.
Wrapping Up – Mac Terminal Tricks
These are the superb Mac terminal tricks and commands we use on a regular basis. Indeed, they have been found to be super-cool in the long run. Also, it’s a great thing if we can use the native options rather than 3rd party apps. For instance, I’d go for the folder-hiding feature of Mac instead of installing another app on my device. We hope you will find these 5 Mac tricks to be helpful in the maximum form.

Akash Jayant
Your tricks are working properly. Thanks for sharing useful tricks.
Lavs
I believe that most of the Mac users don’t know how to carry out few tasks like Hiding a file or a folder and of course, I am also one of them. Thank you so much for helping me hide my photos and other files. :D
Pradip Patel
Your tricks are working properly.
Mahesh Dabade
Thanks Pradip :)
Orpa Rahman
This is working indeed.