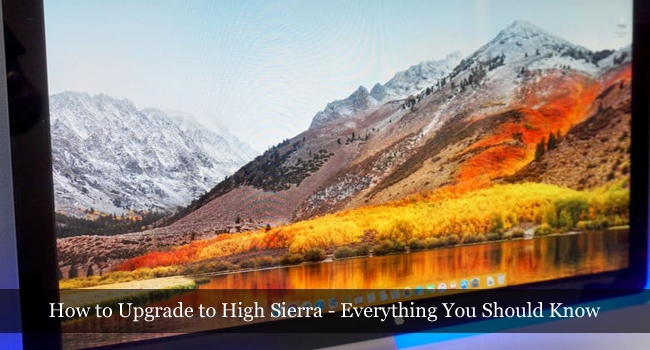
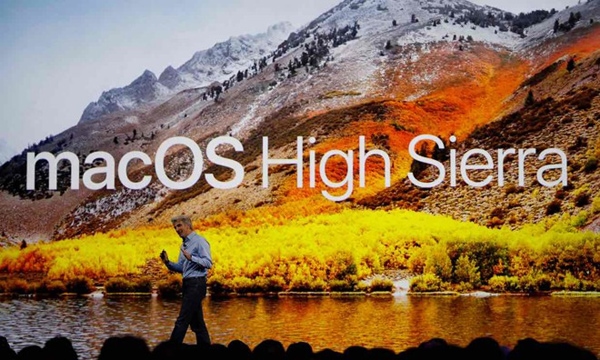
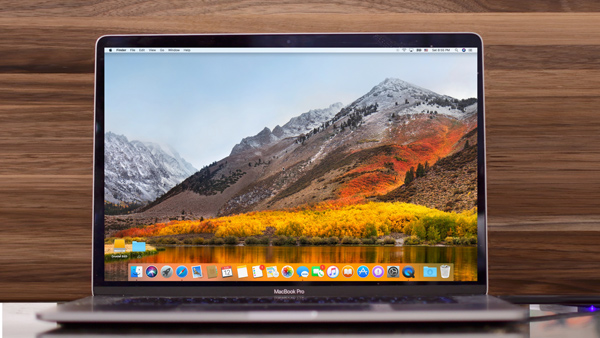
Announced at WWDC 2017 in July, the long-awaited macOS High Sierra is now available for the public! It means all Mac devices that are compatible can download and install this version of macOS. Despite being the major fourteenth release of macOS, High Sierra isn’t much of a transformation, at least on the first look.
However, under the hood, this upgrade brings a lot of changes. We have already published an article on the notable features that macOS High Sierra has brought. So, we’re not talking about those features again. This article is rather about how to upgrade to high sierra.

It’s something more than a typical tutorial too. We will be covering almost everything you should know about upgrading to macOS High Sierra. We will also give you a quick peek into the major features the upgrade has packed inside. We will start with a brief intro and about section for macOS High Sierra upgrade, shall we?
About macOS High Sierra – a Quick Look
As said, High Sierra package comes with a not-so-fancy wrapping. Even in the features list, you wouldn’t find many bigger changes in the interface or apps. Obviously, the following features may have attracted you into the upgrade.
- Safari can now block auto-playing videos on web
- Enhanced Privacy Protection is enabled in Safari, no matter where you surf
- Photos app for Mac has now advanced editing tools
- A notable UI tweak is brought to Mail app, making it even productive
- Spotlight has become more sensible, covering more areas like flight updates
- Sharing files via iCloud has now become so simple, right from app interfaces
- Last but not least, Siri gets an even expressive voice, with enhanced wisdom
While these are the obvious changes, there are more upgrades under the hood. First of all, your Mac device will be upgraded to AFPS, which stands for Apple File System. This one is faster and secure, making things a lot quicker. It also brings support for advanced Virtual Reality and Graphics, for that matter.
In short, macOS High Sierra is surely a worthy upgrade! Personally speaking, I really like the new Photos and Mail app, along with the upgrades in Spotlight and iCloud. Chances are, if you’re someone who uses Mac on a regular basis, you will love these features too.
Shall we now check out the other things you should know about upgrading to macOS High Sierra?
Compatibility – Which All Devices Work with High Sierra?
Let’s get into this quickly. The following devices will have complete compatibility with High Sierra.
- All iMac Models that come after later 2009
- All MacBook Models of late 2009 and later
- MacBook Pro models from mid-2010 and later
- MacBook Air models from late 2010 and later
- Mac mini models from mid-2010 and later
- Mac Pro models from mid-2010 and later

Sum this up, and you can run macOS High Sierra on any device that was made in mid-2012 and later. And, if we are talking about MacBook and iMac, you have support for late-2009 models as well. On the other side, the upgrade requires your Mac to have 2GB of RAM and 14.3GB of storage space.
While RAM is something you wouldn’t have to worry about, make sure that your MacBook, iMac or Mac Pro has enough space for performing the upgrade. As far as OS versions are concerned, you can install it on any device that runs OS X Mountain Lion and later.
The best part is since the AFPS transformation seems quite effective. There have been reports that even the oldest compatible Mac devices are running pretty snappy after the High Sierra upgrade. So, if you have been struggling with an older MacBook Pro or iMac, you’ve rays of hope here.
A Few Things Before you Upgrade to High Sierra
While macOS upgrades are almost always completely secure, it’s worthwhile to take some precautions. Fact is, you just have to take one precaution, that too if you have some confidential information stored in device. And, that’s all about backing up your data. Make sure that the most important data are backed up, using the Time Machine feature or a third-party Mac backup solution. Either way, it is highly recommended that you’d back up everything that matters.
Another important thing is to update your device to the latest version of macOS. Don’t confuse this with an upgrade both are different. While you can find OS-level updates in App Store, the High Sierra OS needs to be downloaded separately. So, to avoid confusion, let’s keep the terms update and upgrade respectively. To simply state things, head to your App Store > Updates and see if there’s an update for your Mac. Perform the update if it’s prescribed for common users.
There are a few additional things you can do. One of them is to clean your Mac for finding and removing lots of junk it might have accumulated. If you’ve been using tune-up and cleaning utilities, it won’t be necessary. Otherwise, we recommend going something like MacBooster or CleanMyMac. Also, to ensure that storage part of your system is working just fine, you can try something with Disk Utility. Go to Disk Utility and give a try to the First Aid option. In most cases, you won’t have any issue. Still, just in case.
If you’ve done all these, you can go ahead and follow the steps to upgrade to High Sierra.
How to Upgrade to macOS High Sierra
Now, we’ve come to the area where all the real fun begins. We’re going to upgrade your MacBook, iMac or Mac Pro to High Sierra, which brings a lot of changes as we said. We’ve kept the steps crisp and straight to the point. It needs to be noted that we’ve done the upgrade on a mid-2015 MacBook Air, and the estimates may vary according to your device.

As far as the pricing is concerned, there is nothing to worry about. It’s available on Mac App Store and you’ll be able to download macOS High Sierra right away. Shall we now move onto the actual steps?
Step #1
Make sure that you have done all the prerequisites we’d mentioned above. Now, before you begin the upgrade, you need to download macOS High Sierra. The installation wizard weighs 4.8GB. You need to download the complete file before performing the upgrade.
Download macOS High Sierra from Mac App Store
So, make sure that you are connected to a stable and fast network. We’d recommend going for your private home network instead of a public network. In our experience, even if there’s a connection issue, macOS tries to resume the download. So, it’s a win-win. Anyway, a faster connection is always recommended.
Step #2
Once you have downloaded the 4.8GB file, you are ready to upgrade your system.
You can simply launch the installation wizard and wait for it to set up. You will be asked a few information, such as where you’d like to install the new version and all. Proceed with the options.
The on-screen instructions are simple and intuitive. You will be done with them in no time. And, next, in just a second, the installation process would start.
Step #3
Now, it’s time to sit back and relax. Depending on the device that you have, it may take some time for macOS to upgrade. In our case, we were using a MacBook Air and it took us around 45 minutes for a finalized install.
Multiple restarts are common during macOS High Sierra upgrade. Don’t worry about that. Make sure that it is plugged in and has enough power inside. If these are fine, you’re good to go.
That’s about it. In about an hour, you will have upgraded to macOS High Sierra successfully. And, the best part is, you can start using your MacBook, iMac or Mac Pro, running the latest version of macOS. During startup, you may be asked to sign into your iCloud account. So, it’s cool if you can keep the device connected all the time.
Things to do After Upgrading to High Sierra
Now that you’ve upgraded your computer to High Sierra, a few things need to be done.
- Update all your Mac apps, because they may be equipped with extra features and compatibility with High Sierra.
- You can try using the junk cleaner software if you have one. If there are any remnant files, they will be taken care of.
Once you’ve done both these things, you can perform a restart, which is optional. That’s all. You’re back with your Mac device, just that it’s running the latest version – macOS High Sierra.
A Quick, Personal Review – Does High Sierra Elevate your Mac?
Personally, I love the upgrade. Everything has become quicker, especially file management. It seems AFPS is so good at file manipulation and associated aspects. So, in case of speed, I think High Sierra is going to put your Mac into an elevated state.
Coming to the new features, Photos app has become so better. The editing tools are simple and easy to get used to. Even if you’re a professional, you can find solace in those tools. Also, it works better, being a native app and not a third-party one.
As said, the improvements are subtler and can be experienced only in the course of time. I have been using High Sierra for over two weeks and it’s been awesome. As said, it’s a MacBook Air and you will hopefully get better performance in a Pro.
Wrapping Up – How to Upgrade to High Sierra
Well, this sums up everything you should know about how to update macOS and especially High Sierra. We think we’ve made everything clear about upgrading to this refined version of macOS, bringing some worthier changes too. If you have any doubt, make sure that you let us know through your comments.


Sandeep Sharma
It was a very good post indeed. I thoroughly enjoyed reading it in my lunch time. Will surely come and visit this blog more often.Thanks for sharing.