

A great many people have continuously faced the skype problem with recording device issue. Nothing is more frustrating than error messages popping up on the screen while trying to have a decent conversation. And the problem with recording device seems to be one of the most common issues experienced by users nowadays.
Skype is one of the most popular means of communication and saves users quite a lot of money. It provides some of the best in class services, be it instant messaging, video calling or sharing media. It also has some chat commands that are useful for frequent users. A solution to this might be a welcome sight for many users, who still want to stick to this application rather than seeking out other alternatives. This article will focus on solutions to resolve the error so that you can return to uninterrupted, quality calls with your friends and family. There are a few reasons which contribute to the Skype problem with recording device error. We will list down all the problems one by one and provide the steps to troubleshoot them.
Perform Hardware Checks on your Microphone
Before we dive into more complex troubleshooting procedures, we will perform a few basic checks. If the Skype recording problem occurred because of trivial reasons, then these checks will resolve the issue with minimum efforts.
Step 1 – First and foremost, you must verify that your microphone is working properly. Check if your microphone or inbuilt mic is muted. If you use a wireless microphone, ensure that it has enough batteries. The application will notify you in case it was unable to detect your microphone. Hence this might be a reason why you faced the problem with a recording device in the first place.
Step 2 – If you are using a headset, your headset must be the default choice for the microphone in your system. To verify this, do the following
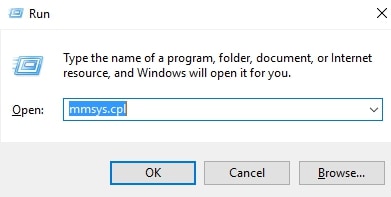
- Press the Windows key + R combination. In the Run dialog which subsequently opens, enter “mmsys.cpl” to open the Sound and Audio window.
- On this window, select the Recording tab and make sure it is the default selection. If it is not the default choice, select the Set Default option and click OK.
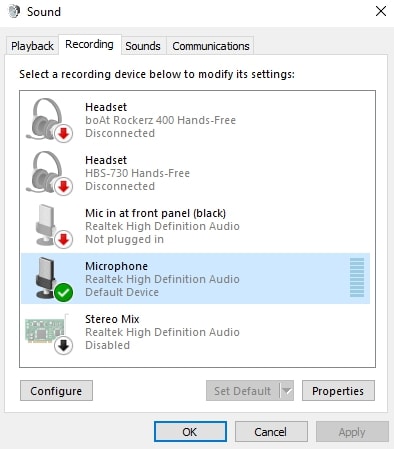
Step 3 – Finally, test your microphone by saying something. Check and see if the sound-levels on the right side of your microphone entry is rising. If you see the levels rise, your microphone is working correctly. Else, there is a possibility of a hardware issue with your microphone.
In case you are still experiencing the Skype problem with a recording device and are convinced it is not a hardware issue, go for the methods described next.
Disable Exclusive Control of your Microphone
Most users will experience the problem with recording device sometime after they have upgraded the Windows operating system. A change in setting can lock out Skype from hardware and trigger the “problem on recording device” error. The setting responsible for this issue is a sound priority one, called “Exclusive Control”, which gets overridden by updates performed by the Windows Updater.
Step 1 – Press the Windows key + R combination to bring up the Run dialog once again and enter “mmsys.cpl” to access the Sound and Audio window.
Step 2 – Select your microphone and press Properties. Select the microphone of your headset in case you are using one, instead of the inbuilt mic).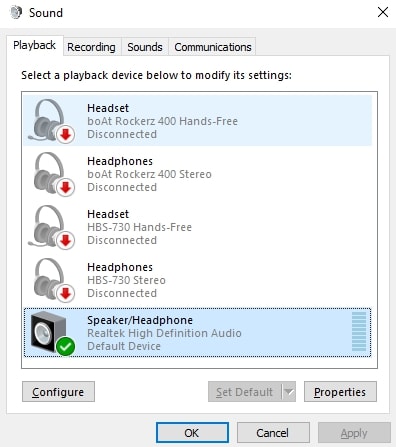
Step 3 – In the Microphone Properties, press the Advanced tab, and uncheck Allow applications to take exclusive control of this device. Hit Apply to apply the changes and OK to confirm them.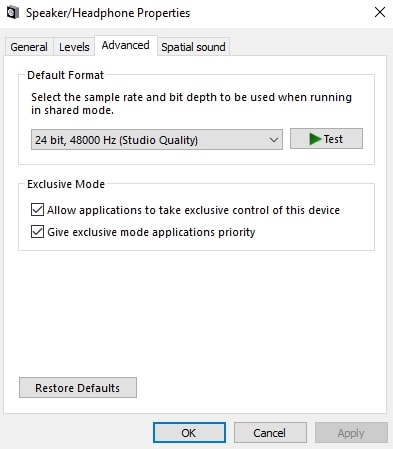
Step 4 – Also, go to the Levels tab in the same dialog and modify the volume and boost levels. Increase the Microphone volume to 100% and decrease the Microphone boost to 0%. Click Apply and OK again to apply and confirm your changes.
Step 5 – After this, open Skype and go to Tools > Options > Audio Settings.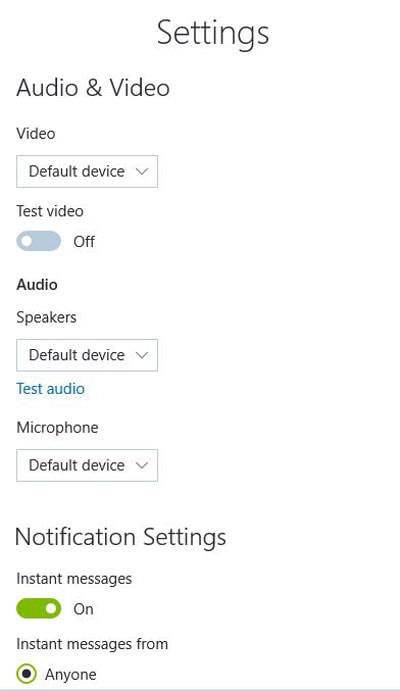
Step 6 – From the drop-down menu with names of microphones, select the microphone you previously disabled exclusive control for. Uncheck Automatically adjust Microphone Settings and set the volume to 100%. Once the Skype recording device problem is solved, you can always change back the volume if you find it too loud).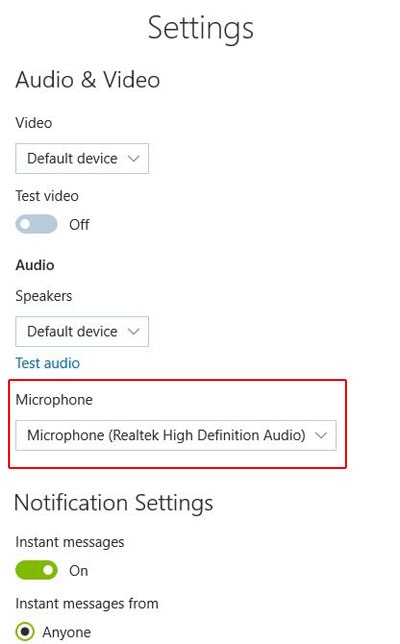
To verify if modifying the settings resolved the issue, make a free Skype test call. You will be calling a test number called Echo123 and will be required to record a message and hear it back. If you were able to hear your message, the problem is resolved. If your test call fails, proceed to the next procedure to troubleshoot the issue.
Reinstall/Update your Sound Card Driver
There is a high chance now that the issue is related to the audio driver of your system. If you face this issue on your laptop, you must check if you have the generic Realtek drivers installed on your system. The Realtek audio drivers conflict with some laptop models which require vendor specific drivers specifically tailored and configured to the laptop model. Reinstalling these vendor-specific audio drivers will help resolve the issue.
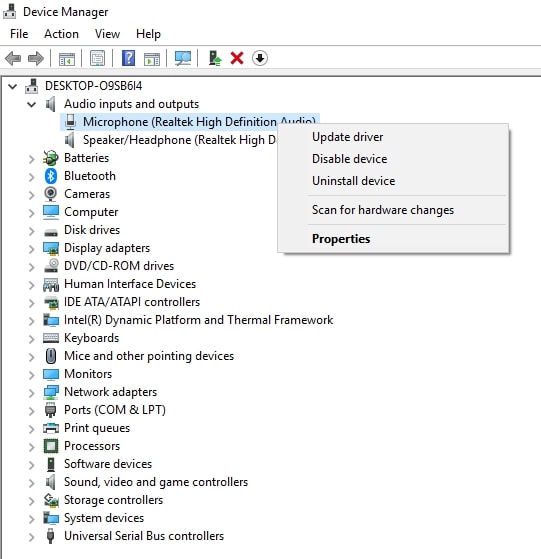
Step 1 – Press the Windows key + R combination to bring up the Run dialog. Type “devmgmt.msc” to bring up the Device Manager.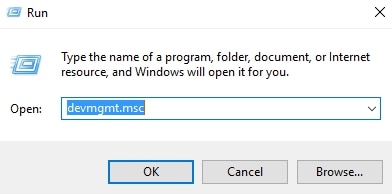
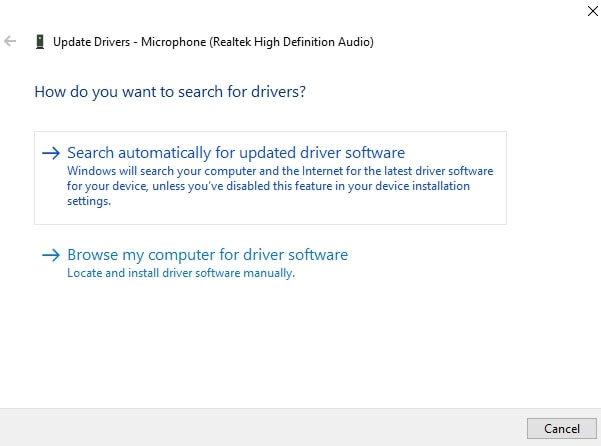
Step 2 – In Device Manager, go to Audio Inputs and outputs. Select the required microphone, right-click on it and click Update Driver. Then select Search automatically for updated driver software. If the search determines a new version of the driver, right-click on the microphone and select Uninstall Device. This will uninstall the drivers and Windows will be forced to re-install the latest drivers. You might have to unplug and replug your headset to trigger the reinstall. Else you will have to restart the system, and that will get the reinstall started.
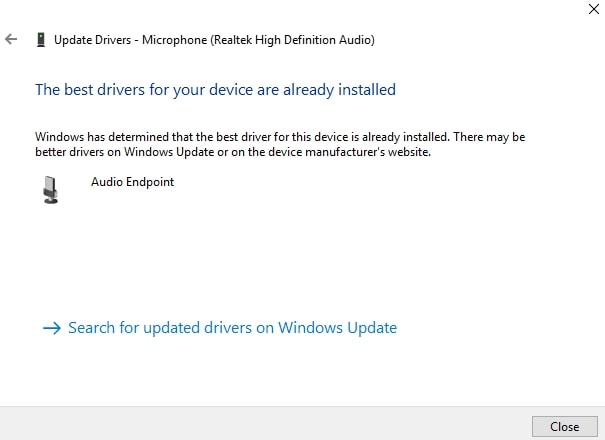
Step 3 – Once you restart your machine and have the audio drivers reinstalled, go to Skype and check if you are still experiencing the problem. If you don’t get any error, the problem is resolved. Else, perform the first step and continue with the steps mentioned below.
Step 4 – You should reach Device Manager by following the first step. Scroll down to Sound, video and game controllers. Locate your audio driver, right-click on it and click Uninstall Device.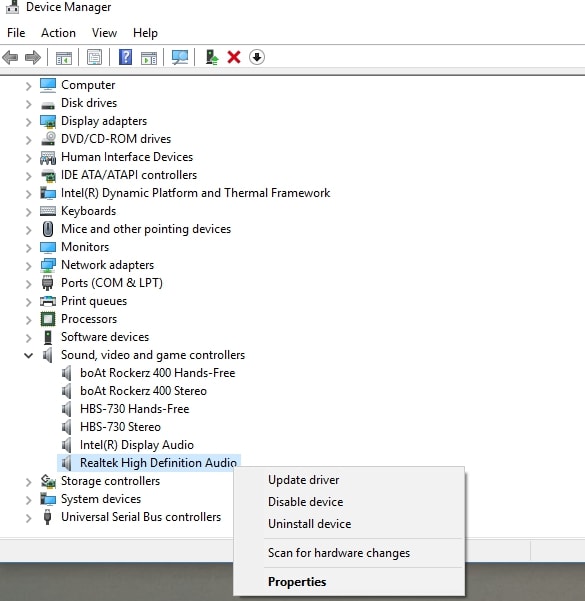
Step 5 – Check the box which says, Delete driver software for this device. Click the Uninstall button to complete the uninstallation. (If you use a headset, the drivers for that device must be reinstalled. You need not worry, that gets done when you plug in the device to your system again).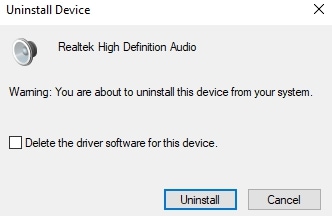
Step 6 – Now that you have successfully uninstalled your audio drivers, you need to reinstall them. Go to your manufacturer’s website and download them from the Downloads section. If you have trouble finding your device driver, just do an online search for “your device model + audio driver”. Select the official link from the search results, download and install the audio drivers.
(If you could not install your audio drivers from the vendor-provided list, download and install the Realtek High Definition Audio Driver.)
Step 7 – Once the driver is installed, restart your machine and do the Skype test call again. The Skype recording problem should be resolved and you will not be getting any more “problem on recording device” messages.
Conclusion – Fixes to the Skype Problem with Recording Device
Following the troubleshooting procedures mentioned above, you will be able to get rid of the annoying Skype problem with recording device. You will be able to continue calling your friends and family on Skype without annoying error messages floating on your screen.

Emran
Very good post. Loved it!