

Android is the most widely used mobile operating system in the world. The best part, it’s completely open-source, which in layman’s terms, means that the Source Code, the actual program is available openly for everyone to download, customize, and build their own ROMs.
There are lots of custom Android distributions available out there, with the popular ones being CyanogenMod, SlimROM, Paranoid Android, AOKP, Liquid Smooth, MIUI, Xylon, Ice Cold Jelly, etc.
For today’s guide, we will compile CyanogenMod 10.2, the most popular Android aftermarket ROM. The procedure is 99% the same for all custom ROMs out there, so this guide can be used as a reference to compile other ROMs too.
Pre-requisites
- An Android Phone with readily available Kernel and Device Source, already rooted and with a custom recovery installed.
- 64 bit Linux Distribution (We prefer Ubuntu).
- At Least 100GB free on your Hard Disk.
- Working knowledge of Linux Terminal Commands.
- Reasonably fast internet connection.
Point to note: 64-bit Linux OS is a must, and it must be a native installation, not a Virtual Machine.
Set Up Your Build Machine
1. Install the Linux OS of your choice: 64-bit version, according to the official instructions. (The guide will assume that we are running Ubuntu 13.04). Keep a partition of at least 100GB with a 16GB Swap Partition.
2. Install the following list of packages: Open the Terminal app, and type
sudo apt-get install <package -name>Press enter and it will prompt you for your password.
Package List
git-core
gnupg
flex
bison
python
rar
original-awk
gawk
p7zip-full
gperf
libsdl1.2-dev
libesd0-dev
libwxgtk2.6-dev
squashfs-tools
build-essential
zip
curl
libncurses5-dev
zlib1g-dev
pngcrush
schedtool
libc6-dev
x11proto-core-dev
libx11-dev
libg11-mesa-dev
mingw32
tofrodos
python-markdown
libxml2-utils
g++-multilib
lib32z1-dev
ia32-libs
lib32ncurses5-dev
lib32readline-gplv2-dev
gcc-multilib
g++-multilib
xsltproc
3. Install Java JDK 1.6 for Linux 64-bit: File name should be jdk-6u##-linux-x64.bin, ## are version numbers. Move the downloaded package to your home directory. Open the Terminal app and run the following set of commands:
sudo apt-get purge openjdk-\* icedtea-\* icedtea6-\*
sudo mkdir –p /opt/java/64/
sudo cp jdk-6u##-linux-x64.bin /opt/java/64
sudo su –
cd /opt/java/64
chmod a+x jdk-6u##-linux-x64.bin
./jdk-6u##-linux-x64.bin
exit
Now, we must add JDK Path to .bashrc
sudo gedit ~/.bashrcAdd these lines in the end of the text file
# Java Path
export JAVA_HOME=/opt/java/64/jdk1.6.0_##
export PATH=$PATH:$JAVA_HOME/bin
4. Install Android SDK: Open Terminal App
cd ~
mkdir android && cd android
mkdir sdk
Download Android SDK from http://developer.android.com/sdk/index.html. Extract the package contents to ~/android/sdk We must add the Android SDK path to .bashrc
sudo gedit ~/.bashrcAdd these lines to the ending of the text file:
# Android SDK Path
export PATH=$PATH:~/android/sdk
export PATH=$PATH:~/android/sdk/platform-tools
export PATH=$PATH:~/android/sdk/tools
Now, install Android SDK Tools by typing
android5. Set up your GitHub account and remote repo: You can skip this step if CyanogenMod supports your phone officially. Go to github.com, and make an account for yourself. For this guide, I am considering your username as ‘user’.
Visit ‘github.com/CyanogenMod/android’, and press Fork. The remote manifest will be forked, and available in your personal repo.
Now, go to ‘github.com/user/android’. Open the file default.xml, press Edit. Find this line:
<project path="android" name="CyanogenMod/android" />And replace this with
<project path="android" name="user/android" />I am considering your device’s kernel source, device source, and vendor libs for Android 4.3 to be at
github.com/user2/kernel_source
github.com/user2/device_source
github.com/user2/device-common_source
github.com/user2/vendor
I am assuming the branch to be named ‘jb4.3’. You can find the exact name in the actual repo. Then, at the end of the file, add these lines, modifying them according to your device’s source code.
<project path="kernel/your_company/your_device" name="user2/kernel_source" remote="github" revision="jb4.3" />
<project path="device/your_company/your_device" name="user2/device_source" remote="github" revision="jb4.3" />
<project path="device/your_company/your_device-common" name="user2/device-common_source" remote="github" revision="jb4.3" />
<project path="vendor/your_company" name="user2/vendor" remote="github" revision="jb4.3" />
Commit your changes. Your remote manifest is ready to be deployed.
6. Install Repo Command: Open Terminal and type
cd ~
mkdir ~/bin
curl https://dl-ssl.google.com/dl/googlesource/git-repo/repo > ~/bin/repo
chmod a+x ~/bin/repo
We must add the Repo path to .bashrc
sudo gedit ~/.bashrcAdd this line to the end of the text file
export PATH=$PATH:~/bin7. Fetch the ROM source code: Open Terminal and type
mkdir ~/android/cm
cd ~/android/cm
If you need Step 5, then type
repo init –u git://github.com/user/android.git –b cm-10.2If your device supports CyanogenMod 10.2 officially, then type
repo init –u git://github.com/CyanogenMod/android.git –b cm-10.2Now run
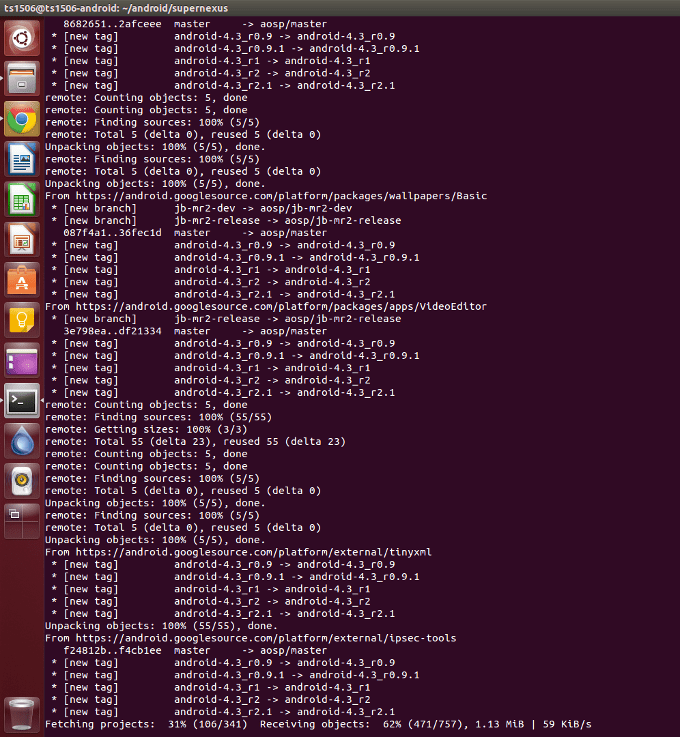
repo sync –j16Go grab a coffee, or a meal, it’s gonna take a long time. The source code is well over 10GB in size, so it will take quite some time.
8. Set up the Device Specific Stuff: If your device supports CyanogenMod 10.2 officially, then open Terminal and type
cd ~/android/cm
. build/envsetup.sh && breakfast <device_codename>
It will take some time, the device source is about 3GB in size. Then, you need to have official CM10.2 installed on your phone, connect it to your PC in USB Debugging mode, and run the following commands:
adb root
cd ~/android/cm/device/<your_company>/<your_device>/
./extract-files.sh
If your device does not support CyanogenMod 10.2 officially, then you have nothing to do in this step, the sources are already waiting for you.
9. Download Prebuilt Stuff and set up Toolchain: Open Terminal and type
cd ~/android/cm/vendor/cm
sh ./get-prebuilts
Now, we must add the Toolchain PATH to ./bashrc
cd ~/android/cm
sudo gedit ~/.bashrc
Add these lines to the end of the text file
# Android Toolchain
export ARCH=arm
export CCOMPILE=$CROSS_COMPILE
export CROSS_COMPILE=arm-eabi-
export PATH=$PATH:~/android/cm/prebuilt/linux-x86/toolchain/arm-eabi-4.4.3/bin
10. Build your ROM: So, everything is all right and ready. It’s time to build the ROM. Open Terminal and type
cd ~/android/cm
. build/envsetup.sh
brunch <device_codename>
Time to go take a nap. It will take a zillion years to build the ROM on an average computer. Well, that was an exaggeration, but on my home PC (Core i5 2nd gen with 8GB RAM), it takes over 3 hours to build from scratch. Hopefully, there will be no errors, and the build will complete fine. You will get the output package in
~/android/cm/out/target/product/<your_device>/cm-10.2-something-UNOFFICIAL-<your_device>.zipIt’s time to install your newly compiled ROM on your phone. Download the Google Apps package from “www.goo.im/gapps” for the appropriate Android version. Put both those packages in your phone, and flash them in recovery mode. Voila, your own compiled ROM is now running your device.
Well, so you learned how to compile a ROM. So, now what?
Update Your Source ROM
To fetch new source code updates to your locally downloaded source code, open Terminal, and type
cd ~/android/cm
repo sync –j16
To build your ROM, after updating the source code, open the terminal, and type
cd ~/android/cm
make installclean
find ./out/ -name 'build.prop' | xargs rm
find ./out/ -name 'cm_<your_device>-target_files-eng.*.zip' | xargs rm
. build/envsetup.sh
brunch <your_device>
Since you are not re-building from scratch, but re-building as it is, it will take significantly less time, only about 15-30 mins in most cases. You should sync your local source every week or so, to keep your local source fresh.
Clean Your Working Directory
To clean your working directory completely (read: return your source folder to stock condition), open Terminal and type the following commands.
cd ~/android/cm
make installclean
make clobber
Bear in mind, that after running these commands, all your output data will be removed, so the next build will take 3-4 hours again, as everything is re-built from scratch. If your Hard Disk partition is small, say around 100GB, you should clean your working directory about once every 4 builds, or else, you will run out of Hard Disk space.
Speed up your build by CCACHE
Building a ROM takes a lot of time. But the time can be cut down by about 30-45% by using CCACHE. CCACHE stands for compiler cache, it caches the compilation output from your earlier builds so that it can be re-used in later builds.
Note that CCACHE needs a lot of space on your Hard Disk for caching the content, so its recommended if and only if your Hard Disk partition is somewhere in the vicinity of 200GB or higher. To set up CCACHE, open Terminal, and type:
cd ~/android/cm
export USE_CCACHE=1
export CACHE_DIR=~/.ccache
prebuilts/misc/linux-x86/ccache/ccache –M 50G
You can change the maximum size allocation to CCACHE from 50GB to whatever you want, but a minimum of around 30GB should be used for good results.
Fetch Commits from Other ROMs
You can cherry-pick features from other ROMs’ source code. Say, for example, I want to pick Feature A, with commit ID “12345” from the repository “github.com/user/reporepo”.
You navigate to the package in your local source code and run these in Terminal.
cd ~/<path_to_reporepo_packages>
git fetch https://github.com/user/reporepo
git cherry-pick 12345
Source Code Links of Famous Android Custom ROM Distributions
- CyanogenMod – https://github.com/CyanogenMod
- SlimROM – https://github.com/SlimRoms
- ParanoidAndroid – https://github.com/ParanoidAndroid
- AOKP – https://github.com/AOKP
- LiquidSmooth – https://github.com/liquidsmooth
- Xylon ROM
- Ice Cold Jelly – https://github.com/IceColdJelly
So, there you go guys, a simple, straightforward guide to compile virtually any Android AOSP based ROM in 10 simple steps. While my guide focuses on CyanogenMod, you can compile pretty much every AOSP ROM out there, by just modifying the repository links. Or, you can just pick features, commit them, modify stuff, and create your own personalized ROM, maybe share your ROM online too?
vishvast
hi thanks for this article today this android world is spreading like an epidemic so a nice article
jurie rales
Impressive works! I really want to create my own code for my apps!
Jessica
I really love to see this code but some some part of this code i can not understand.
Shyantan deb
hii Shaunak,
Android is really wide spread in the whole world. and thanks for this amazing post
Susie Lampman
Great. Now if I could only understand these terminologies. Then I can compile the android ROM